
Gigabyte B650 Gaming X AX V2 Manual: Comprehensive Article Plan (04/14/2026)
Today’s date is 04/14/2026 06:23:54. This manual details the GIGABYTE B650 GAMING X AX V2, a motherboard built for demanding gamers and professionals seeking peak performance.
The B650 GAMING X AX V2 is a high-performance motherboard designed for gamers and professionals, delivering exceptional speed and a robust feature set for optimal builds.
Overview and Key Features
The Gigabyte B650 Gaming X AX V2 stands out with its advanced design, catering to both seasoned gamers and demanding professionals. It boasts a robust VRM solution with 16+2+2 power phases, ensuring stable and reliable power delivery for the latest AMD Ryzen processors. This motherboard supports PCIe 5.0 for ultra-fast graphics cards and NVMe SSDs, maximizing bandwidth and responsiveness.
Key features include integrated Wi-Fi 6E connectivity for seamless wireless networking, and a high-definition audio codec delivering immersive sound quality. The B650 Gaming X AX V2 also incorporates multiple M.2 slots, allowing for flexible storage configurations. Furthermore, its enhanced thermal design, featuring large heatsinks, effectively dissipates heat, maintaining optimal performance even under heavy loads. RGB Fusion 2.0 provides customizable lighting effects, adding a personalized aesthetic touch to your build.
Target Audience: Gamers and Enthusiasts
The Gigabyte B650 Gaming X AX V2 is specifically engineered for gamers seeking a competitive edge and PC enthusiasts desiring a high-performance, feature-rich platform. Its robust power delivery and advanced cooling solutions are ideal for overclocking, pushing the limits of AMD Ryzen processors. Gamers will appreciate the PCIe 5.0 support for next-generation graphics cards, ensuring smooth and immersive gaming experiences.
Enthusiasts will benefit from the multiple M.2 slots, allowing for expansive and incredibly fast storage solutions. The integrated Wi-Fi 6E and high-definition audio enhance the overall user experience. This motherboard caters to those who demand reliability, expandability, and cutting-edge technology, providing a solid foundation for building a powerful and customized gaming or workstation PC.
Compatibility with AMD Ryzen Processors (7000, 8000, 9000 Series)
The Gigabyte B650 Gaming X AX V2 motherboard offers broad compatibility with AMD Ryzen processors, supporting the 7000, 8000, and 9000 series. Utilizing the AM5 socket, it’s designed to unlock the full potential of these CPUs, delivering exceptional performance for gaming and demanding applications. The motherboard’s robust VRM design ensures stable power delivery, crucial for handling the higher power demands of newer Ryzen processors.
GIGABYTE continually updates the BIOS to ensure optimal compatibility and performance with the latest Ryzen releases. Users are encouraged to check the GIGABYTE website for the most recent BIOS version. This commitment to compatibility guarantees a future-proof platform, allowing users to upgrade their processors as new generations become available, maximizing their investment.
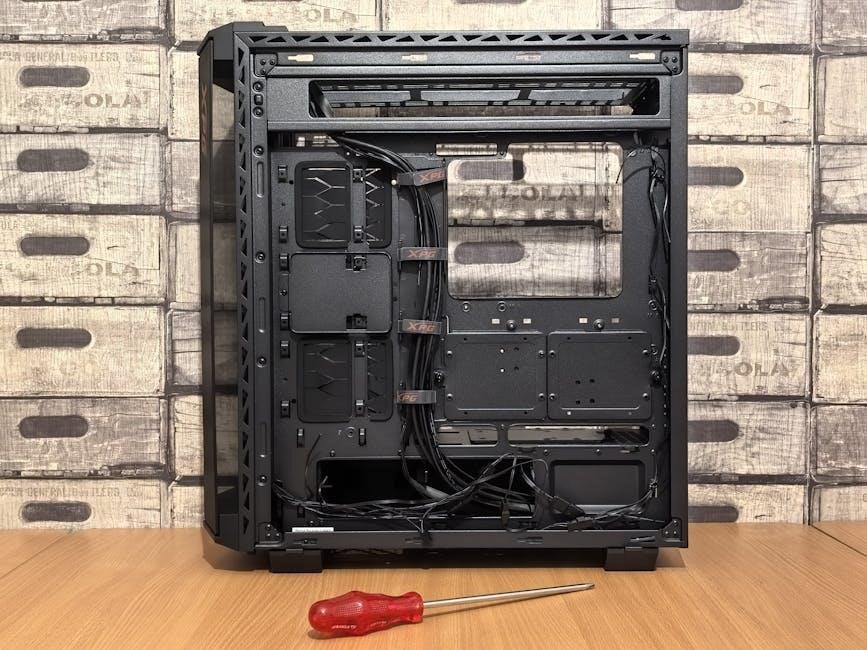
Unboxing and Component Identification
Carefully unpack the box and verify all listed components are present. This section guides you through identifying the motherboard and included accessories.
Package Contents Checklist
Before proceeding with installation, ensure all components are accounted for. Your GIGABYTE B650 GAMING X AX V2 package should include the following items: the B650 GAMING X AX V2 motherboard itself, a rear I/O shield for proper port protection and aesthetics, two SATA data cables for connecting storage devices, and the GIGABYTE installation guide providing detailed instructions.
Additionally, you’ll find a warranty card outlining the terms and conditions of your product’s coverage, and a bag containing screws for mounting the motherboard to your PC case and securing M.2 SSDs. Some packages may also include a GIGABYTE sticker for branding purposes. Carefully inspect each item for any signs of damage during shipping. If anything is missing or damaged, contact GIGABYTE support immediately for assistance.
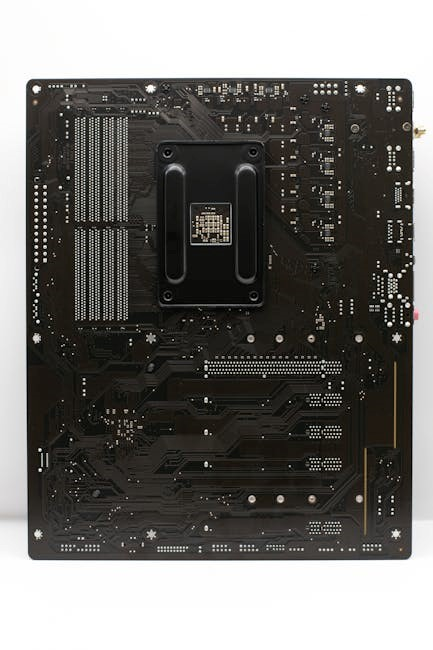
Motherboard Layout and Key Components (Visual Guide)
The GIGABYTE B650 GAMING X AX V2 boasts a strategically designed layout for optimal component placement and airflow. Key areas include the AM5 CPU socket, accepting AMD Ryzen 7000, 8000, and 9000 series processors. Four DDR5 DIMM slots support high-speed memory configurations, crucial for gaming and demanding applications. Multiple M.2 slots – PCIe 4.0 and 5.0 – accommodate ultra-fast NVMe SSDs for rapid storage.
The board features robust VRM heatsinks for stable power delivery, and a reinforced PCIe 5.0 x16 slot for graphics cards. Rear I/O connectivity includes USB ports, audio jacks, and Ethernet. Front panel connectors facilitate case integration. (A detailed diagram illustrating these components will be included here in the full manual).

Installation Guide
Carefully follow these steps to install your components onto the GIGABYTE B650 GAMING X AX V2 motherboard, ensuring a stable and high-performing system build.
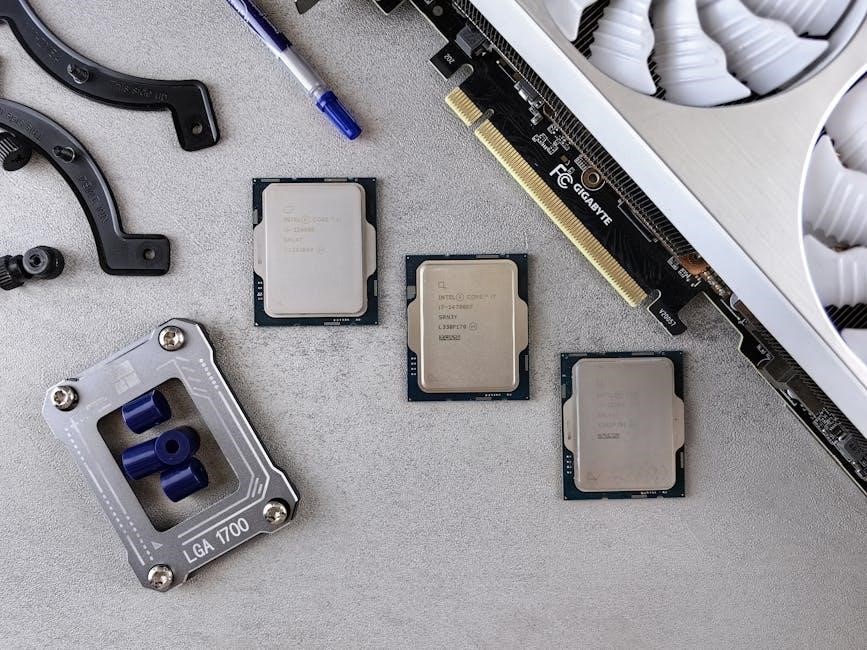
CPU Installation (Socket AM5)
Preparing for CPU Installation: Before commencing, ensure the motherboard is powered off and grounded. Locate the AM5 socket lever; gently lift it to open the CPU retention mechanism. Carefully align the gold triangle on the AMD Ryzen processor with the corresponding triangle marking on the socket.
Installing the Processor: Gently place the CPU into the socket – do not force it! It should sit flush without any pressure. Once seated correctly, close the retention lever, securing the processor in place. A firm, but not excessive, downward pressure may be needed.
Important Considerations: Static discharge can damage the CPU; always use an anti-static wrist strap. Double-check the CPU alignment before closing the lever. Incorrect installation can cause permanent damage to both the processor and the motherboard. Refer to the diagrams in the manual for visual guidance.
RAM Installation (DDR5 Support & XMP)
Preparing for RAM Installation: Power down the system and ground yourself to prevent static discharge. Locate the DDR5 DIMM slots on the motherboard – consult the manual for correct channel configuration (dual-channel recommended). Open the retaining clips at both ends of the desired DIMM slots.
Installing the RAM Modules: Align the notch on the DDR5 module with the key in the DIMM slot. Apply even pressure to both ends of the module until it clicks securely into place and the retaining clips snap shut. Ensure the module is fully seated.
Enabling XMP: Access the BIOS and locate the XMP (Extreme Memory Profile) setting. Enable XMP to automatically configure the RAM to its advertised speed and timings. Save changes and exit the BIOS. Verify RAM operation with memory testing software.
M.2 SSD Installation (PCIe 4.0 & 5.0)
Locating M.2 Slots: Identify the M.2 slots on the motherboard; the B650 Gaming X AX V2 supports both PCIe 4.0 and 5.0 SSDs. Refer to the motherboard layout in the manual to determine which slots support which generation. Some slots may have heatsinks – remove these if necessary.
Installing the SSD: Align the notch on the M.2 SSD with the key in the M.2 slot. Gently insert the SSD at a slight angle, then press down until it lies flat. Secure the SSD with the provided M.2 screw. Ensure it’s firmly attached, but avoid over-tightening.

Post-Installation: Power on the system and verify the SSD is detected in the BIOS. The BIOS should automatically recognize the drive. If not, check the M.2 slot configuration settings.
Connectivity and I/O Ports
This section details the rear panel and front panel connectors of the Gigabyte B650 Gaming X AX V2, ensuring proper device connection and functionality.
Rear Panel I/O Ports Explained
The Gigabyte B650 Gaming X AX V2’s rear panel boasts a comprehensive array of I/O ports designed to accommodate a wide range of peripherals and connectivity needs. You’ll find multiple USB 3.2 Gen 1 and Gen 2 Type-A ports for fast data transfer with external drives and other USB devices.
Additionally, a USB 3.2 Gen 2×2 Type-C port offers even faster speeds for compatible devices. Video outputs include HDMI and DisplayPort, supporting high-resolution displays for immersive gaming and content creation. A dedicated RJ-45 port provides a stable Gigabit Ethernet connection for reliable networking.
Audio connectivity is handled by gold-plated audio jacks, ensuring high-quality sound output. Finally, a BIOS Flashback button allows for easy BIOS updates without a CPU or RAM installed, and a clear CMOS button assists in troubleshooting. Understanding each port’s function is crucial for optimal system setup.
Front Panel Connector Guide
Connecting the front panel connectors to the Gigabyte B650 Gaming X AX V2 requires careful attention to the motherboard’s manual. These connectors provide power and data connections for the case’s front-mounted USB ports, audio jacks, power/reset buttons, and system status LEDs.
The front panel connector block is typically located at the bottom-right corner of the motherboard. Pinouts are clearly labeled, indicating the correct orientation for each connector; Incorrect connections can prevent the system from powering on or functioning correctly.
Pay close attention to the polarity of the power and reset switches, and ensure the LED connectors are oriented properly. Refer to the motherboard diagram in the manual for precise pin assignments. A properly connected front panel ensures seamless interaction with your computer case’s features.

BIOS Setup and Configuration
Accessing the BIOS allows customization of hardware settings. Optimizing these settings unlocks the full potential of the Gigabyte B650 Gaming X AX V2.
Accessing and Navigating the BIOS
Entering the BIOS is crucial for system configuration. Upon powering on your Gigabyte B650 Gaming X AX V2, repeatedly press the “Delete” key. Alternatively, the “F2” key can be used to access the Q-Flash Plus utility for BIOS updates. The BIOS interface utilizes a user-friendly graphical interface, navigable with the arrow keys, Enter key for selection, and Esc key to return to previous menus.
Key sections include: “M.I.T.” for advanced overclocking settings, “Settings” for SATA configuration and boot order, “Boot” for selecting the primary boot device, and “Peripherals” for managing connected devices. Utilize the function keys (F1-F12) for context-sensitive help and quick access to specific settings. Remember to save changes before exiting the BIOS using the “F10” key, confirming with “Yes” to prevent losing your configurations.
Optimizing BIOS Settings for Performance
Enhance your Gigabyte B650 Gaming X AX V2’s performance through BIOS optimization. Within the “M.I.T.” section, enable “Extreme Memory Profile (XMP)” for your DDR5 RAM to achieve advertised speeds. Adjust CPU core voltage carefully, increasing incrementally for stable overclocking, monitoring temperatures closely. Enable “Precision Boost Overdrive (PBO)” for automatic performance enhancements within safe thermal limits.
For advanced users: Explore “CPU Load-Line Calibration” to minimize voltage droop under load. Configure fan curves in “Smart Fan 5” to balance cooling and noise levels. Prioritize your boot drive in the “Boot” settings for faster system startup. Regularly test stability after making changes using benchmarking software. Caution: Incorrect BIOS settings can lead to system instability; proceed with careful research and understanding.
Updating the BIOS
Keeping your Gigabyte B650 Gaming X AX V2 BIOS current is crucial for compatibility and performance. Utilize GIGABYTE’s “Q-Flash Plus” feature – no CPU, RAM, or GPU is required! Download the latest BIOS file from the official GIGABYTE support website for your specific motherboard revision. Format a USB flash drive (FAT32) and rename the BIOS file to “GIGABYTE.BIN”.
To initiate the update: Insert the USB drive into the designated Q-Flash Plus port (refer to the motherboard manual). Press the Q-Flash Plus button on the rear I/O panel. The BIOS update will begin automatically, indicated by a flashing LED. Important: Do not interrupt the process! A failed update can render your motherboard unusable. Verify the successful update upon reboot.
Troubleshooting Common Issues
This section provides solutions for typical problems encountered with the Gigabyte B650 Gaming X AX V2, including “No POST” errors and USB connectivity issues.
No POST Symptoms and Solutions

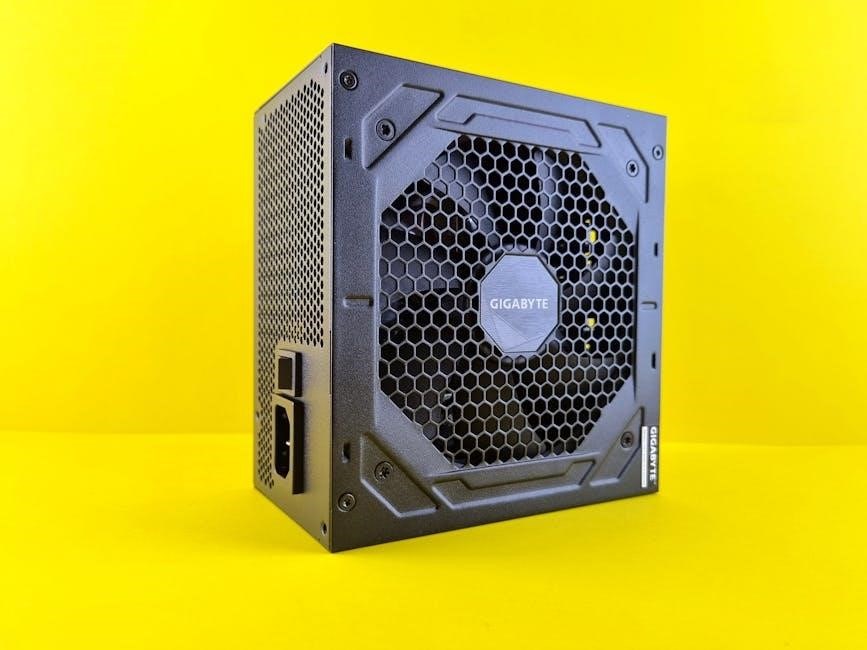
Experiencing a “No POST” situation with your Gigabyte B650 Gaming X AX V2 can be frustrating. This indicates the system isn’t initiating the power-on self-test. First, ensure all power connections to the motherboard are secure – both the 24-pin ATX and the 8-pin (or 4+4 pin) EPS connectors.
Next, verify RAM compatibility and proper seating in the DIMM slots. Try booting with only one RAM module installed, testing each slot individually. Check the CPU installation; ensure it’s correctly seated and the cooler is properly mounted. A loose CPU or cooler can prevent POST. Inspect for any short circuits caused by stray screws or standoffs.
Clear the CMOS by using the CLR_CMOS jumper on the motherboard. Disconnect all unnecessary peripherals (USB devices, extra drives) to isolate potential conflicts. If the problem persists, a faulty component (CPU, RAM, motherboard) may be the cause, requiring further diagnostics or replacement.
USB Port Issues and Fixes
Encountering USB port problems on your Gigabyte B650 Gaming X AX V2 is common. First, verify the device is properly connected and functioning on another system. Check the USB device drivers within Windows Device Manager; outdated or corrupted drivers are frequent culprits. Ensure the correct USB port is being used – some ports offer faster speeds (USB 3.2 Gen 2×2) and require compatible devices.
Try different USB ports on the motherboard to rule out a faulty port. Update the motherboard chipset drivers from the Gigabyte support website; these often include USB enhancements. Inspect the rear I/O panel for any physical damage to the USB ports. Clear CMOS can sometimes resolve USB initialization issues.
Power supply limitations can also cause USB instability, especially with multiple high-power devices. If problems persist, consider testing with a different power supply.